Changing the
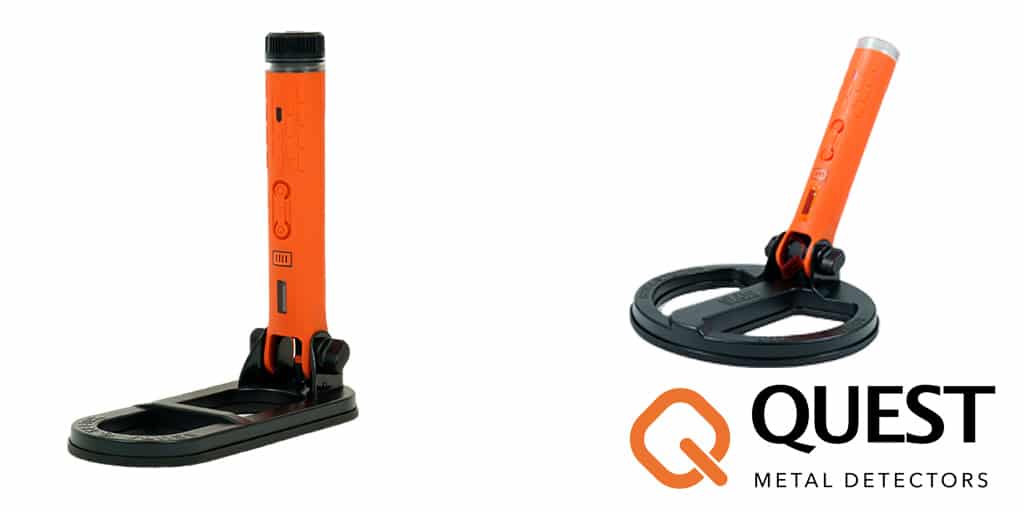
Quest Scuba Tector Pro Coil to the STP20 Coil is easy! Just follow these steps: Take out the control pod from the Scuba Tector Pro
- Unscrew the Scuba Tector Pro battery cap.
- Remove the screw from the detachable control pod.
- Pull the control pod out of the handle.
Insert the control pod to the
STP20 Coil
- Make sure the slide rails of the control pod and round STP20 coil handle are properly aligned.
- Insert the control pod down into the handle along the slide rail until you hear a click sound.
- Tighten the screw.
Coil Retune
- Keep the detector away from metal objects, and make sure the angle between the handle and coil is larger than 90 degrees, then power the detector on.
- Press the RESET button inside the body compartment for around 2 seconds, you will hear a long and 2 short sounds. The reset will not change the settings of the detector, it will reset to the current ground condition to minimize interference and false signals. When resetting the detector, there should be no metal objects in detection range.
Now you can attach the battery cap again and the detector with
STP20 coil is ready for detecting, Please review the matters needing attention and operation procedures in
Scuba Tector Pro before detecting.



0 comments