


Best Gold Panning Guide

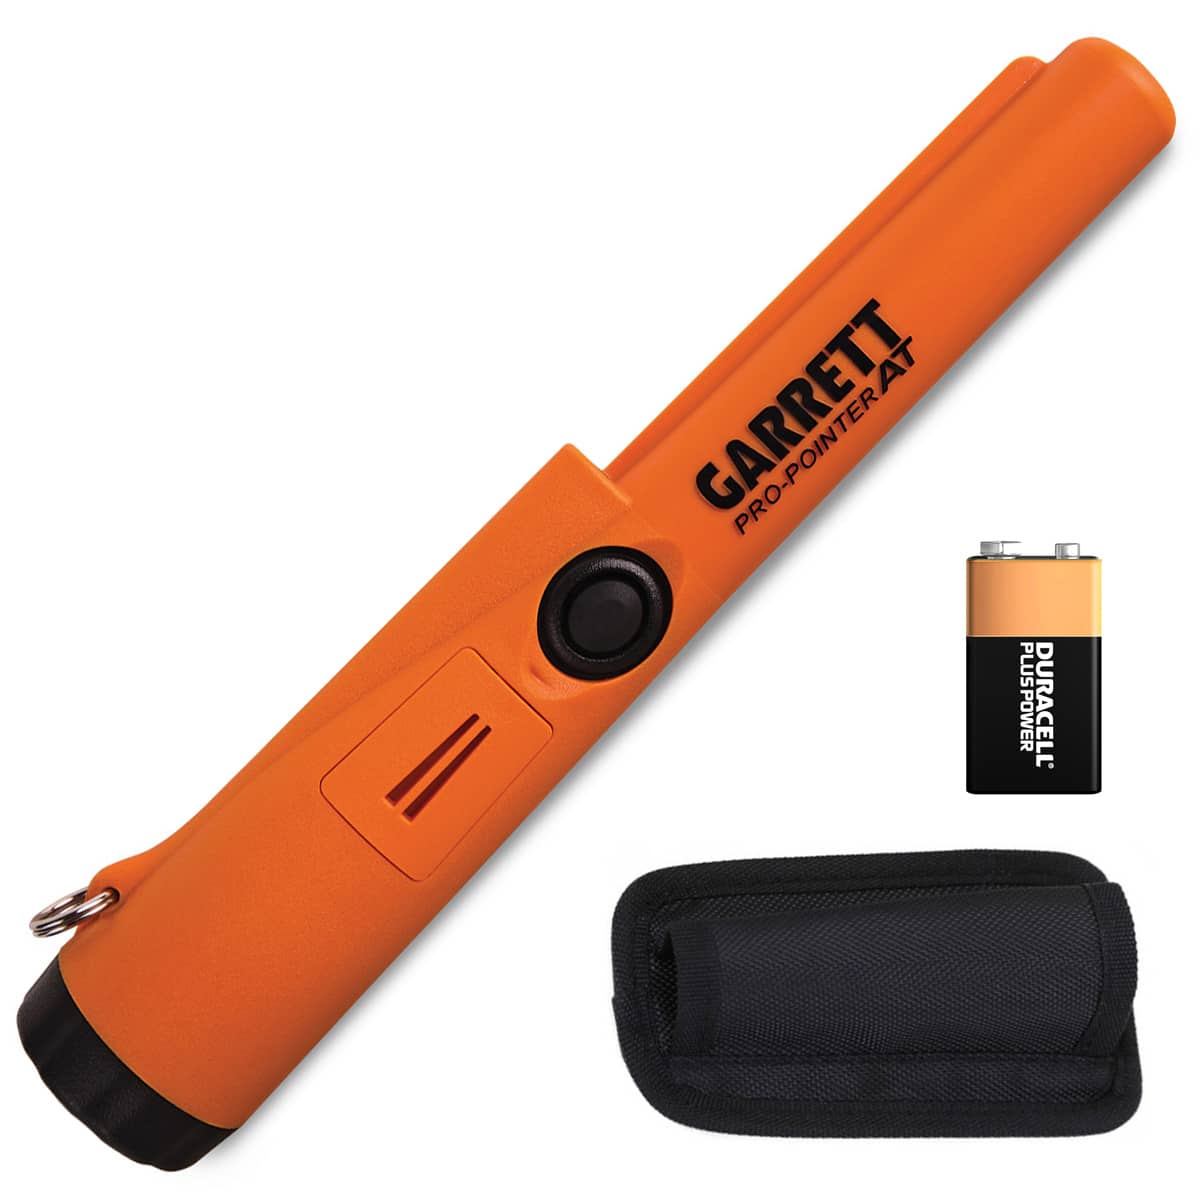
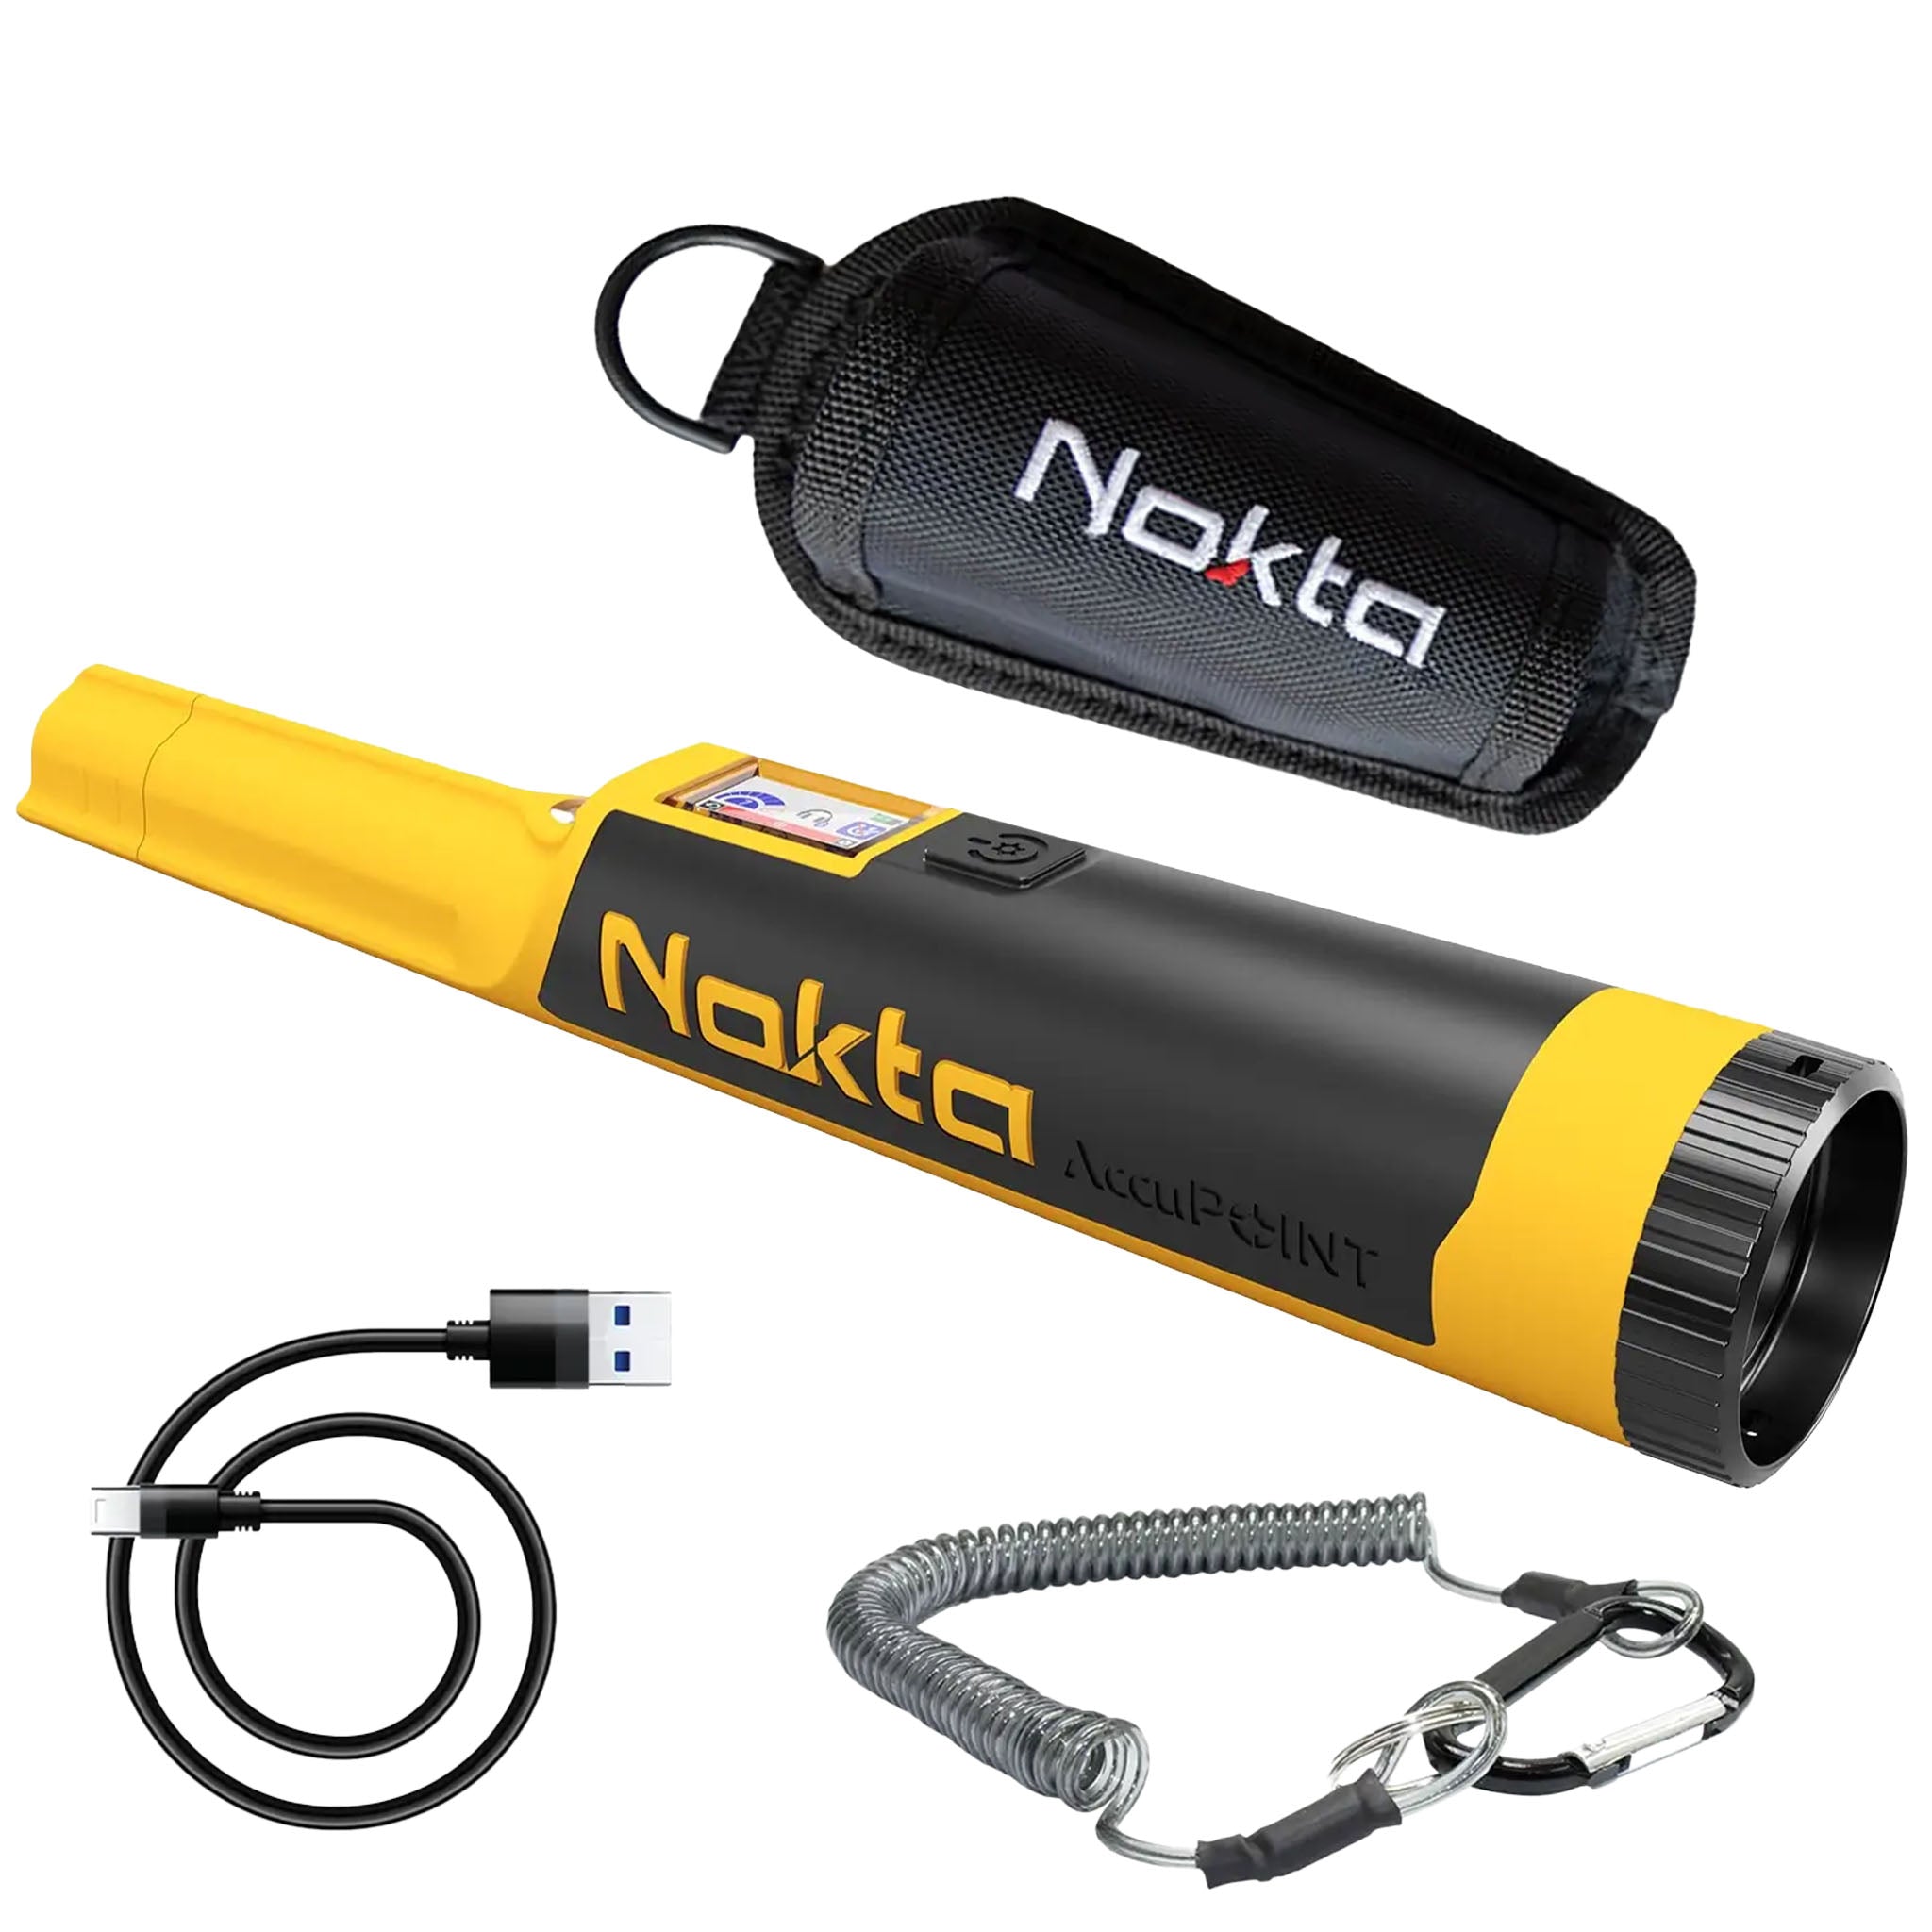
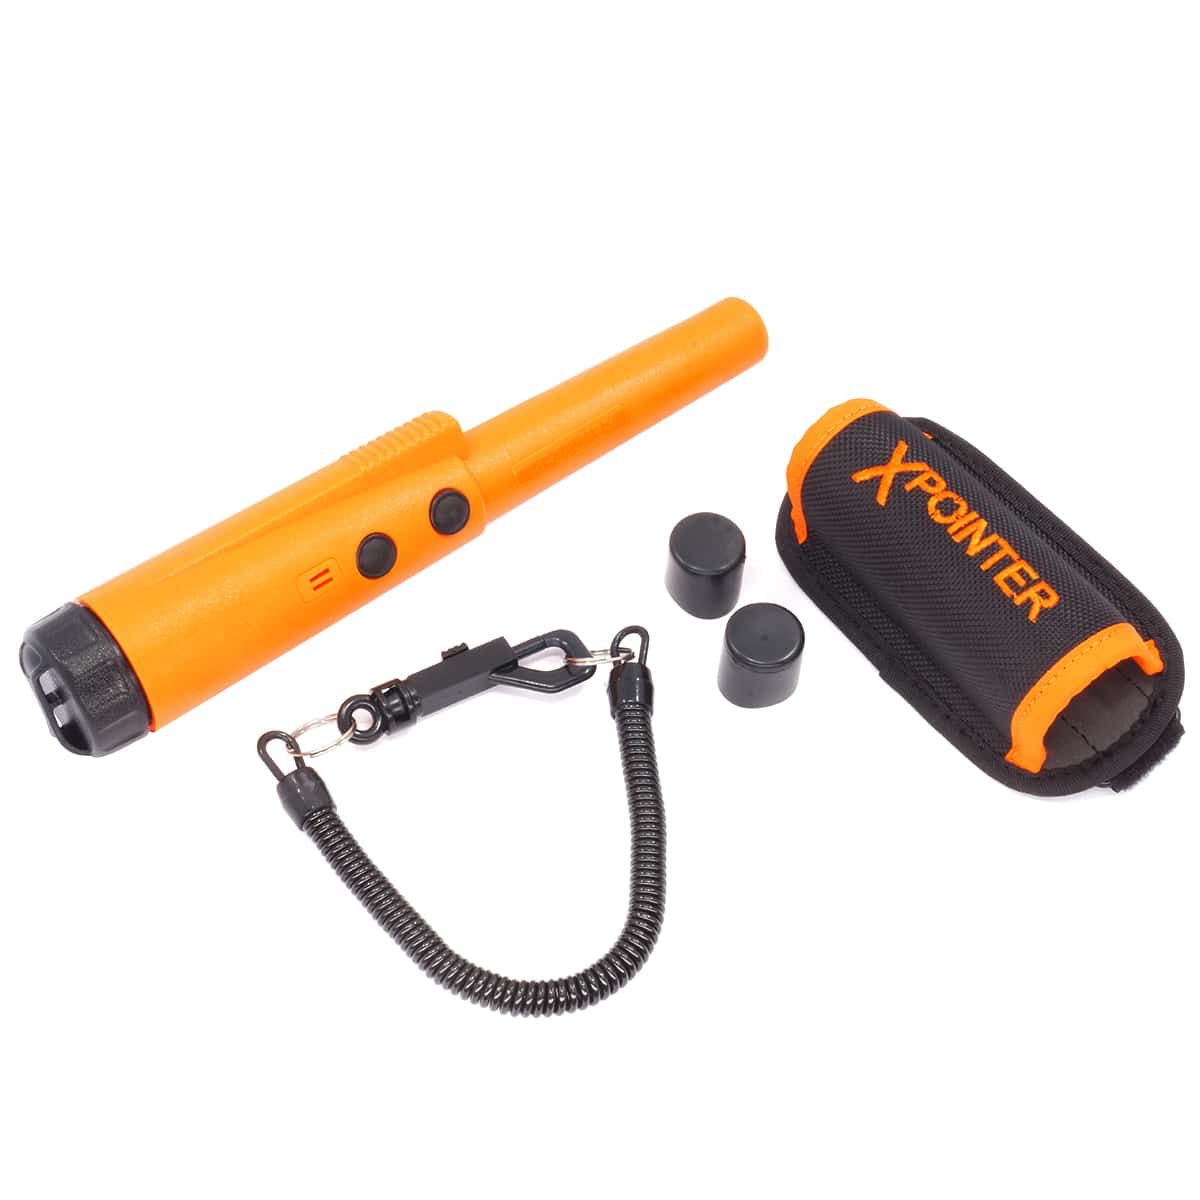
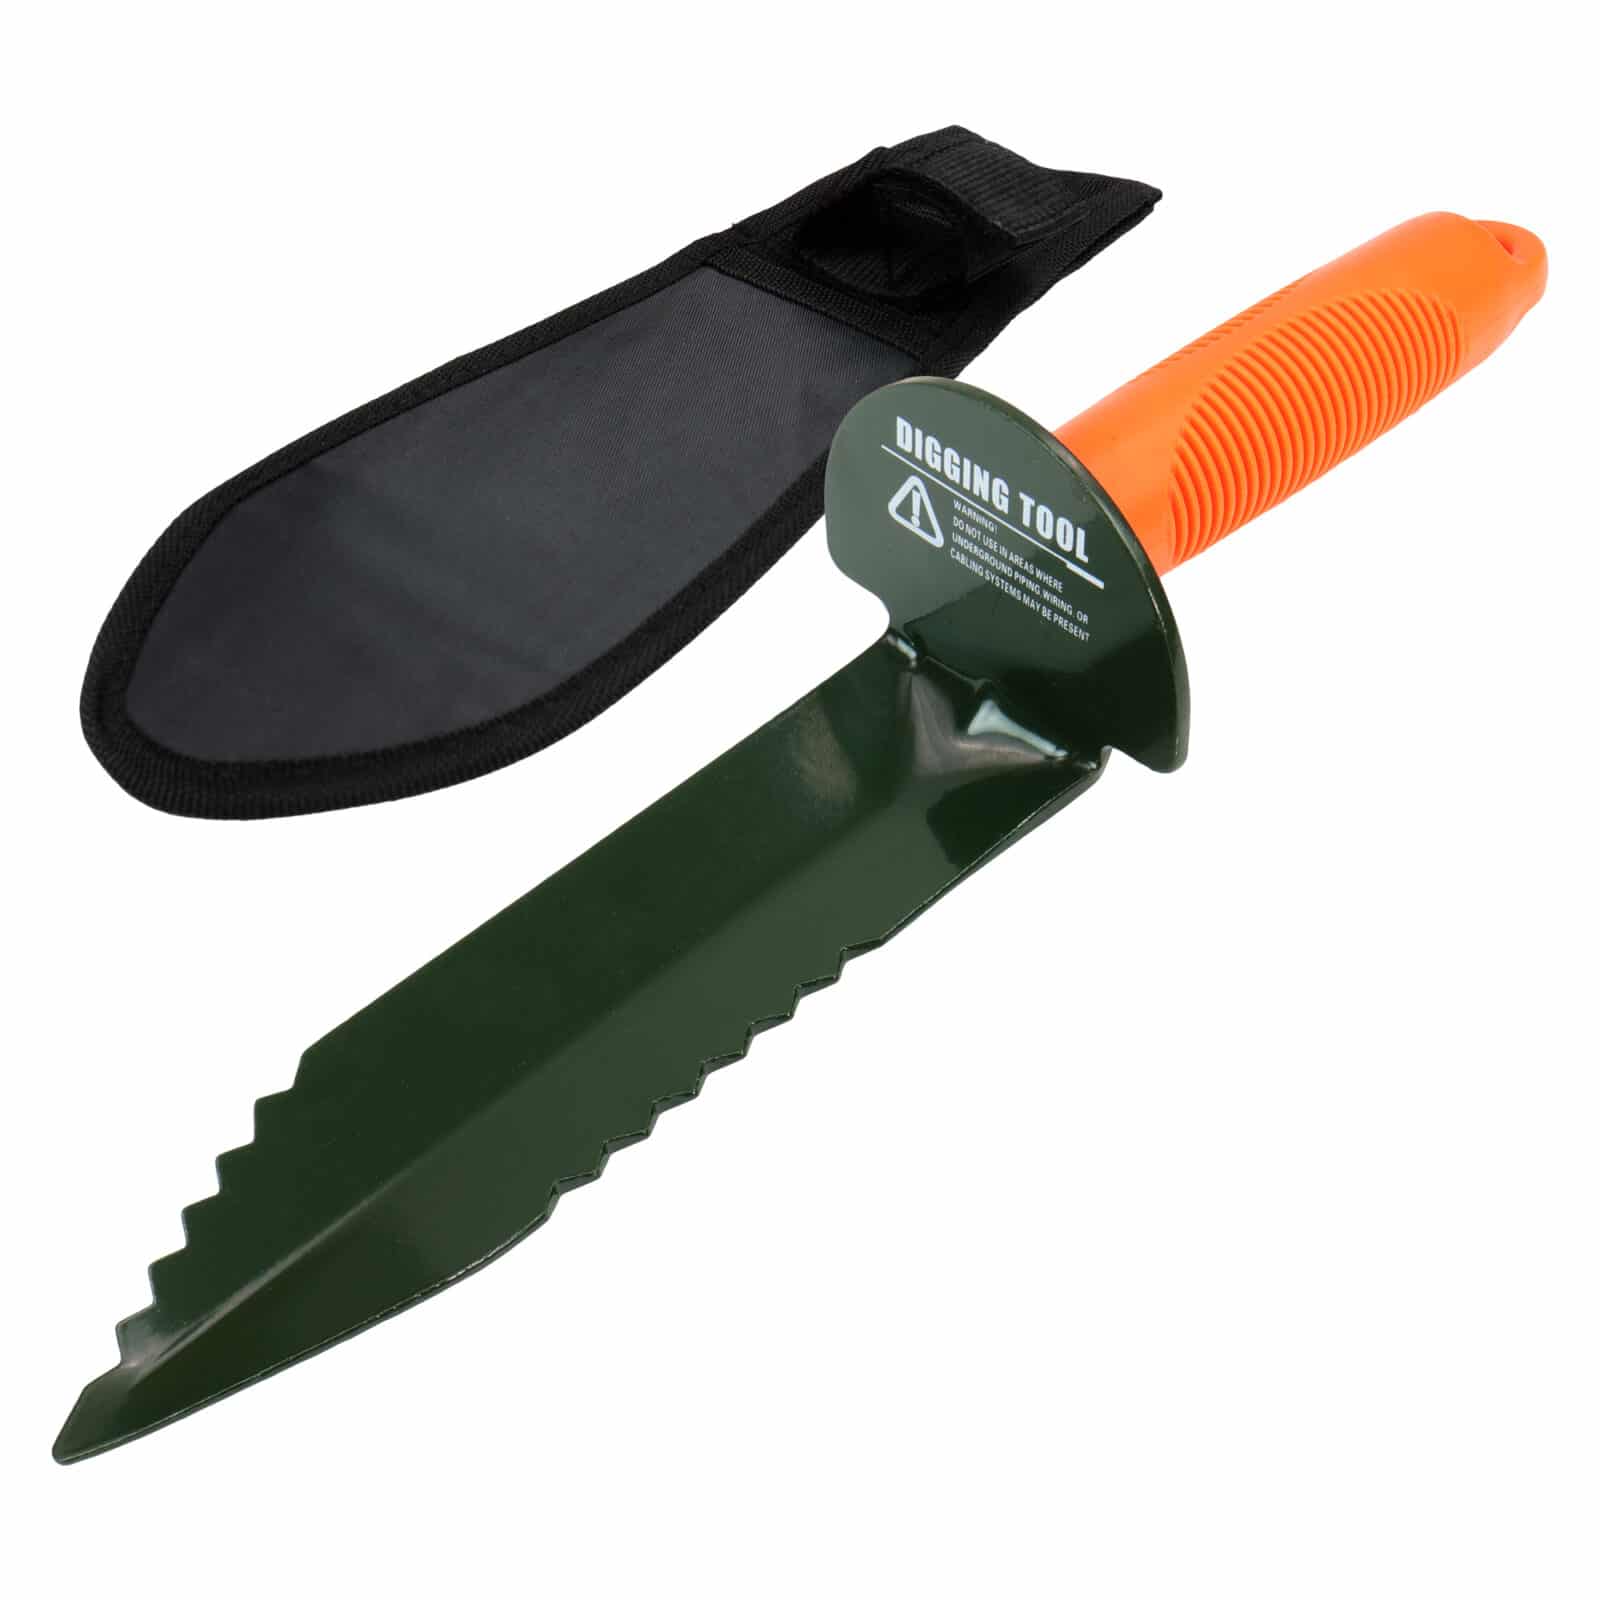
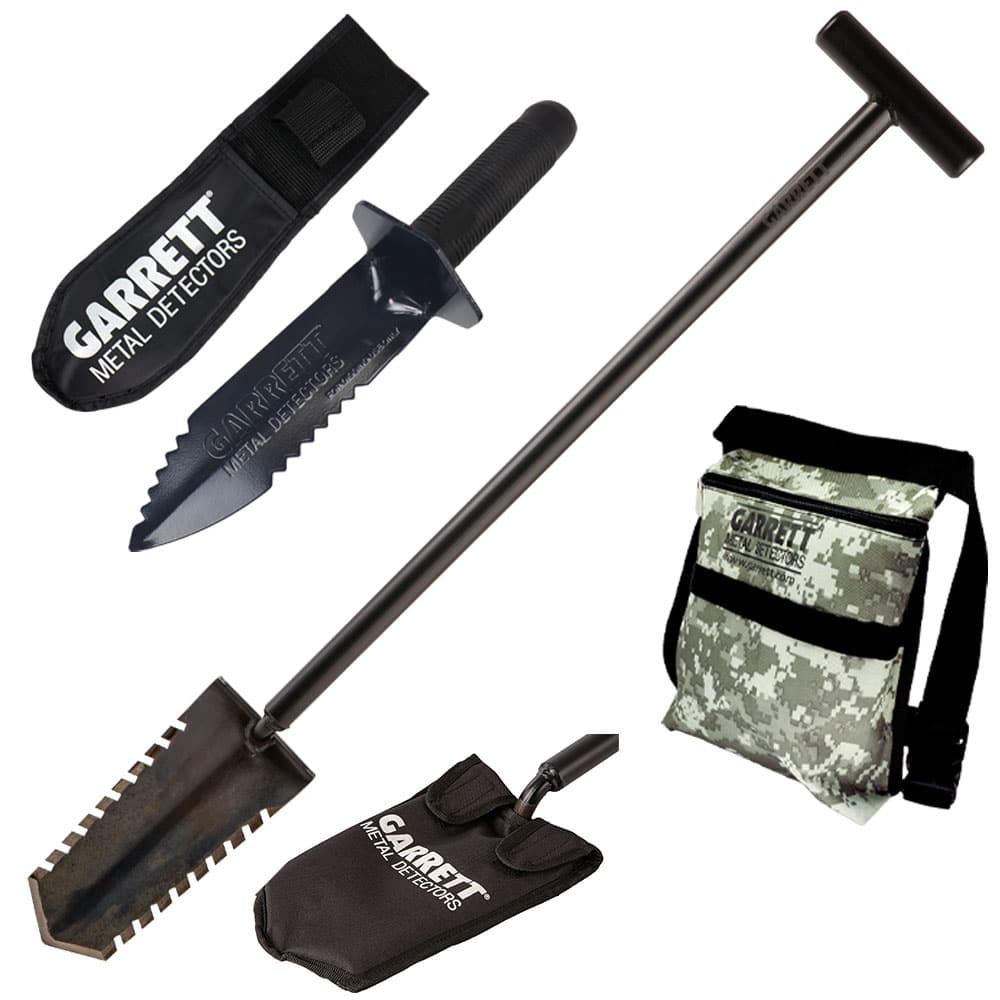
When you're out hunting for gold, sometimes you have to dig it out of rock, and sometimes you're panning it out of creeks and streams. We have all the tools for that. Where did all that gold in the creeks and streams come from? The water works as a kind of a sluice, separating out the gold from the rock. This is when the tool of choice is a gold pan. Sometimes you want to go to the source, which means using the pick, tweezers, and crevice tool to dig out the gold yourself. This can be more work, but it can be worth it when you hit a vein of gold.
Where can you find hard rock gold? The best place to look is where people have already been mining. These sites have the advantage of being a known productive area, and with the development of newer tools and technology, finding gold can be easier today than in the past. Rich gold veins can be found just inches away from where other miners have been digging. Also, much of the work of moving dirt and rock has been done.
The Basic Steps of Panning
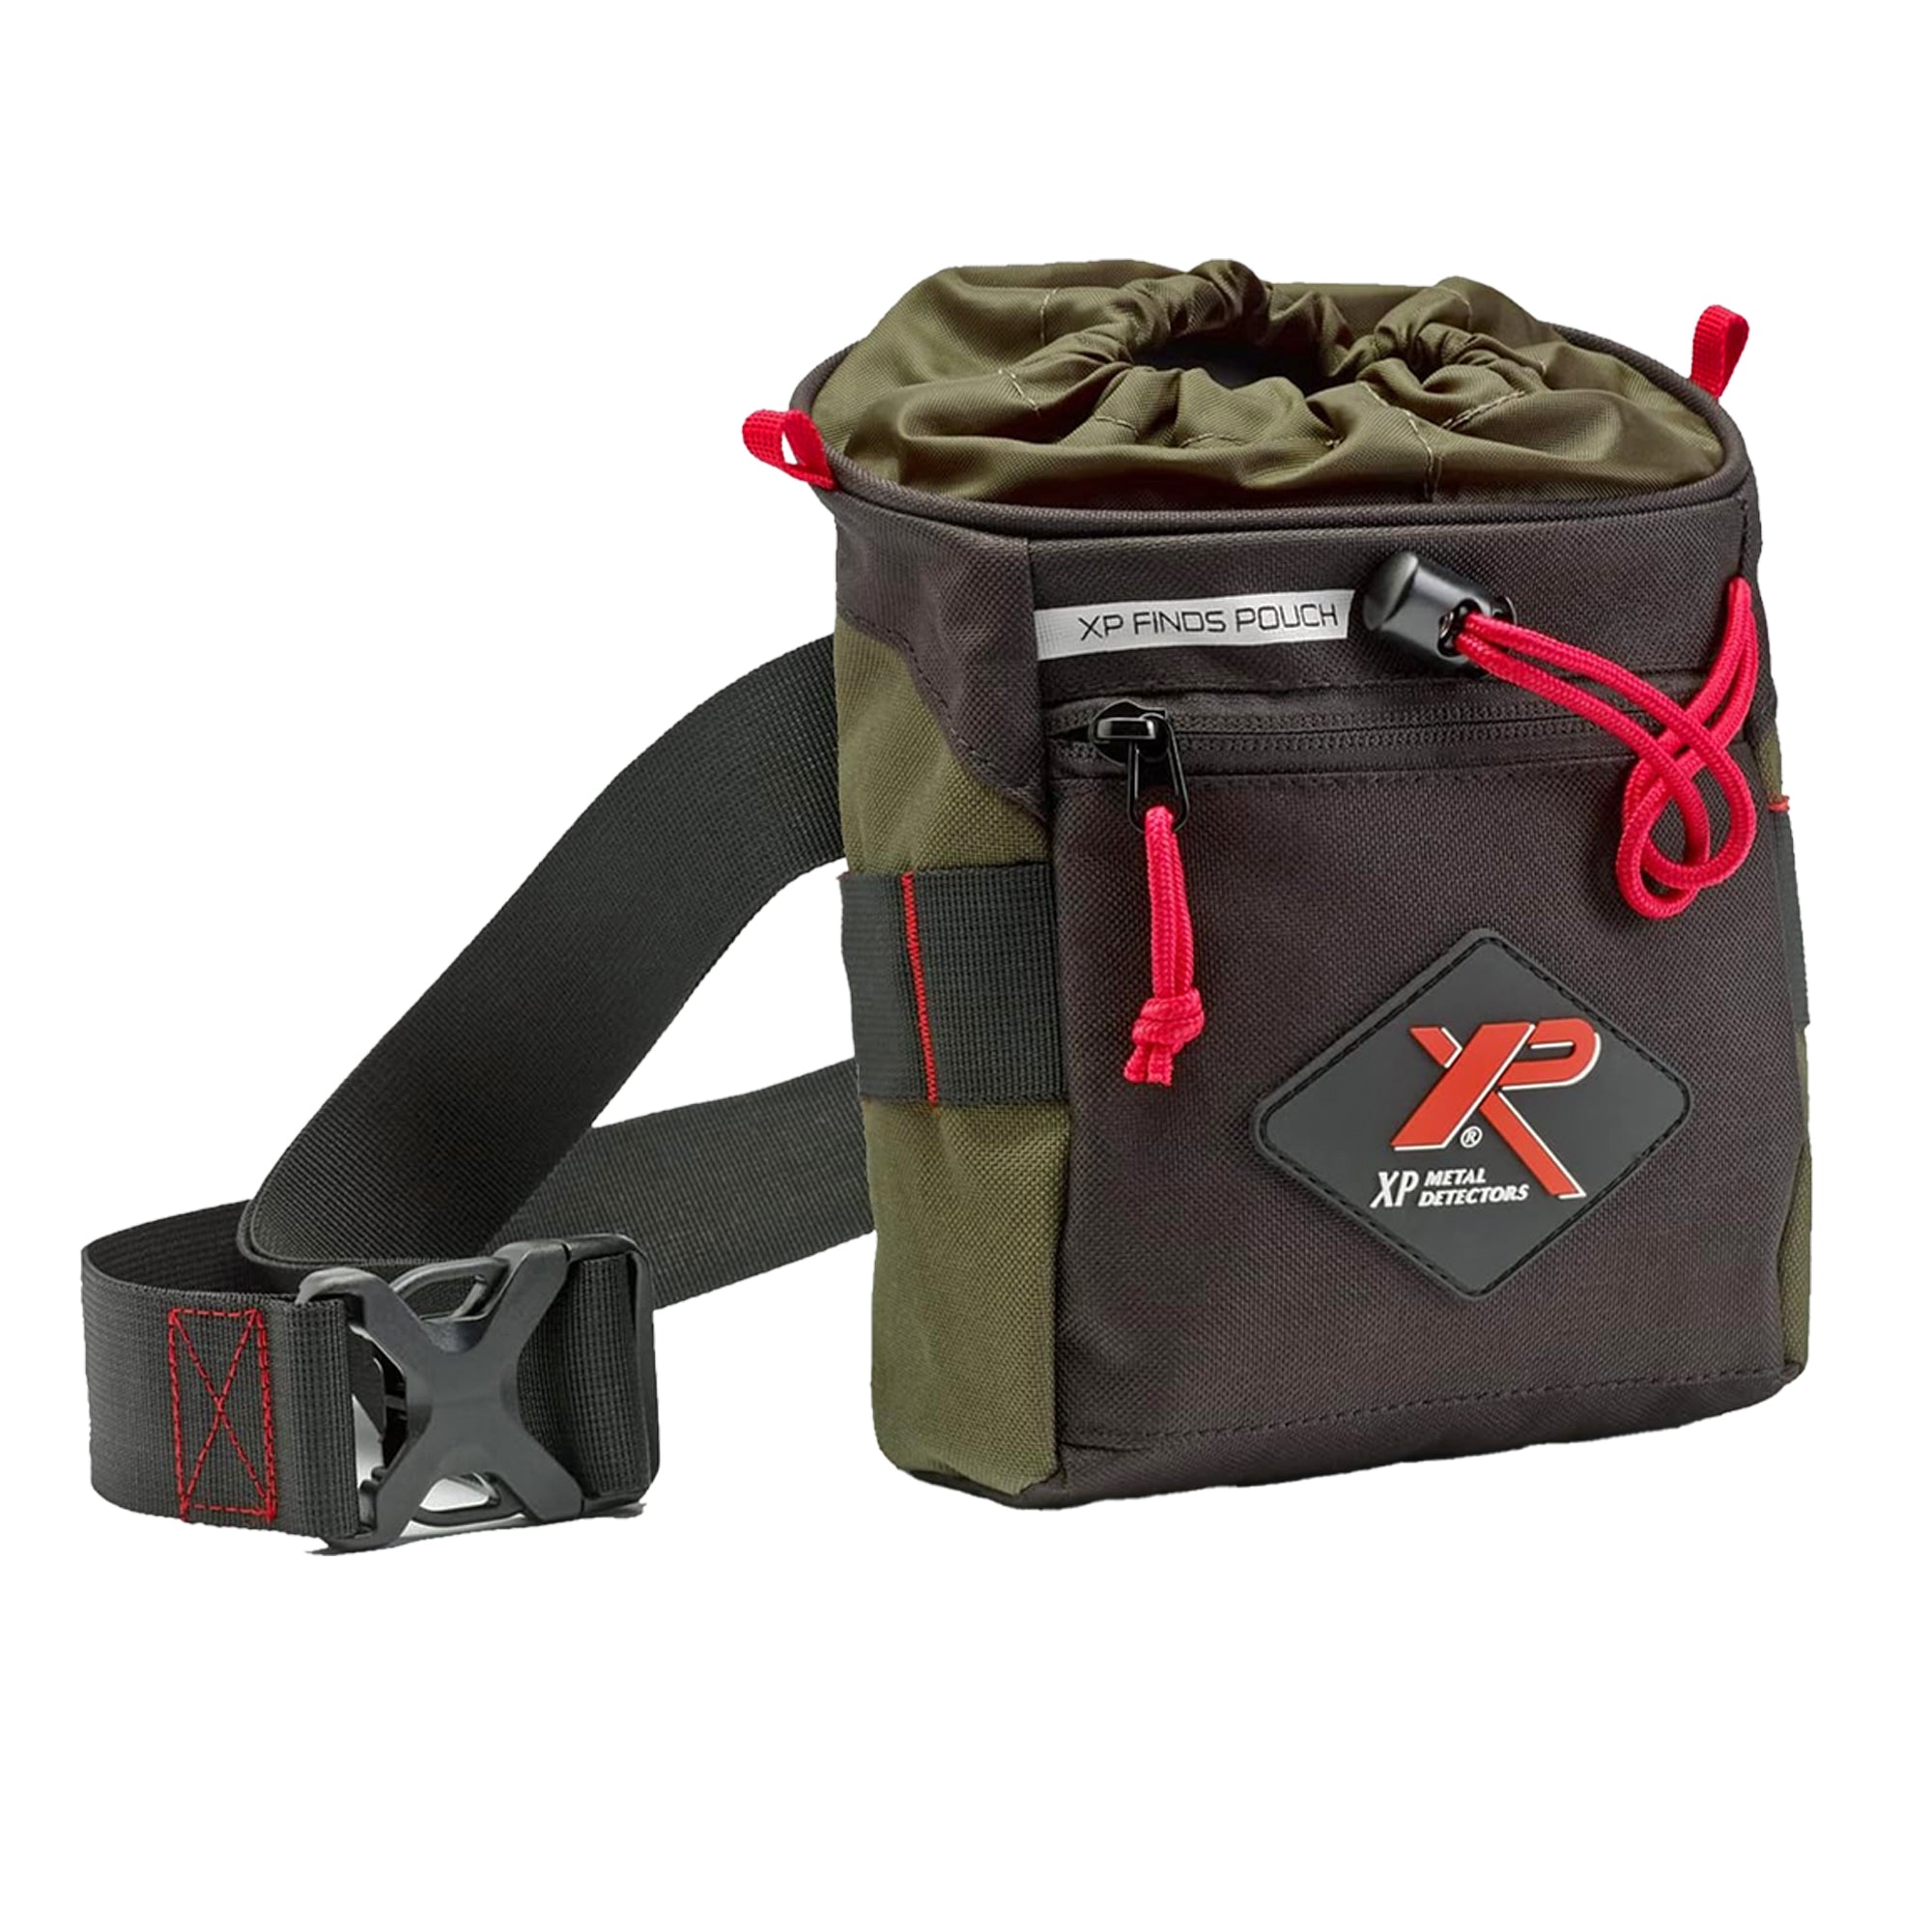
We recommend having a gold pan kit if you're just getting started.
Get Rid of the Big Stuff
- Fill your pan about 1/2 full of gravel.
- Dip your pan deep enough in the stream so it's just below the surface.
- Begin shaking the pan several times, back and forth and side to side. Use a gentle touch as to not slop gold out of the pan.
- If your kit includes a classifier, place it over your pan to sift the dirt as you fill that pan.
- Begin moving the pan in a circular motion You'll notice the dirt, sticks, and leaves begin to separate from your gravel. At this point, you can begin to remove the cleaned off leaves and sticks. You can also begin removing the larger rocks, careful not to toss out any gold pieces, of course.
- Repeat the shaking side-to-side, back-and-forth step and the circular motion steps. This action causes the materials in the pan to be separated by weight. The heavy materials (hopefully gold) will settle to the bottom of the pan.
Washing Off Lighter Sand & Gravel
- Hold that pan just under the water and tilt it slightly away from you. Begin gently swishing the water from side to side.
- Add a bit of a forward motion. You want enough force to encourage the small gravel to flow over the front edge of the pan, but not so much as to risk losing any of the heavier, possibly gold, particles.
- Don't rush this process.
- Every so often, level out your pan and shake it back and forth. Again, this encourages the light materials to rise to the top, while the heavy materials (with any luck, gold), to rest at the bottom.
- Continue to repeat the tilt and swish step and the leveling out step until about a cup or two of the heavy material remains in the pan. This is your concentrate.
Washing Off Black Sand & Concentrates
- Lift the pan out of the stream with about an inch or so of water in it.
- Tilt the pan back towards you and swirl that water around in a little circular motion. If you’re lucky, you may see some gold. You can now carefully remove any larger nuggets you see.
- Tip: Have a bottle of dish washing liquid nearby. Place a drop or two in the water when working the concentrate. It will break the surface tension of the water, making it easier to work the gold out.
- Use your Black Sand Magnet to separate the iron concentrates from your gold.
- Depress the plunger all the way down and gently run the bottom of the magnet in your black sand pile a couple of times. Then carefully move the magnet away from your pan and release the plunger, causing all the iron concentrates to drop out and away from your gold.
- Use your Snuffer (sometimes called Sniffer) Bottle to carefully suck up any small gold flakes you see.
- Have a small amount of water in the bottom of the bottle so the gold has something to settle into.
- Ensure the straw is no more than three quarters of the way in the bottle. Always keep the straw well above the gold level (and never touching the bottom of the bottle), to prevent pushing gold back out of the straw.
- When you see a gold flake in your concentrate, take the snuffer bottle, hold it straight up and give it a small squeeze.
- Place the straw next to the gold in your pan. Slowly release the bottle, creating a vacuum which will pull the gold into the bottle. One all tension is released, and the straw is no longer pulling gold up, lift the snuffer out of the water.
- Place your finger over the straw and give it a couple of shakes. Any gold will fall into the bottle and be trapped. Repeat this step until you have sucked up all visible gold.
- Gold flakes and dust can be stored in a small glass vial.
For tips, tricks, or just visual demonstrations, view Gold Panning on www.youtube.com.
Dry Panning
If you find yourself looking for gold with no stream nearby, an alternative it to Dry Pan.
- When wet panning, the wetter the better. When dry panning, you want dirt as dry as possible. The best places are dry stream beds with sand and gravel. Make sure the sand or gravel you are working with is very dry. You can spread it out on a blanket or tarp to dry in the sun, if necessary.
- Once dry, place a small amount of material in your gold pan and begin to swirl it around, similar to as when wet panning. This method isn't as effective as wet panning, but you can still find gold.
- Continue to swirl your material, allowing the light stuff work it’s way to the top. Start removing any rocks, sticks and items that are clearly not gold. Tilt the pan forward as you swirl, allowing the lightweight material to work its way over the front of the pan. Take your time to avoid losing any gold.
From here, you can take your remaining concentrate home in a bucket to wet pan at home. If that isn't possible, continue to tilt and swirl, working the heavy material to the bottom. Then look at it in the sunlight. If you see some shimmer, you may have gold.

