Some collectors are serious about antique bottles. The unique designs and colors can point to specific periods in history and provide an opportunity for collectors to be amateur archaeologists. Some people enjoy the thrill of the hunt when looking for bottles while others love identifying the brand, year, and style of the bottle.
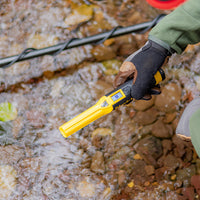
Bottles are often difficult to find. Because they were cast off as trash, they are often buried in the ground and hard to excavate. The glass is also breakable, which makes it hard to find full bottles intact. If you’re interested in bottle digging, you need the right tools. Gloves, a trowel, a metal detector, and other gear make this process easier.
Learn how to find bottles with a metal detector and where to start with your bottle-digging adventure.
How Can a Metal Detector Find a Glass Bottle?
You might be surprised that a metal detector is an essential item in your bottle dig bag, but this item is more valuable than you might realize. It’s true that metal detectors won’t be able to find glass, which means this shouldn’t be the only tool you use in your search. However, bottles often have metal components attached to them.
For example, if a soda bottle was cast off before it was opened, the lid might be intact. You might find an antique Coca-Cola bottle with the original drink inside! Additionally, many antique glass bottles were designed with metal clasps and other components that made it possible to reseal them. Your detector will pick up these metal elements.
Keep in mind that your metal detector will likely pick up other metal items as you search for bottles. This might be frustrating if you are exclusively on an antique bottle hunt, but it could also enhance the experience if you simply want to explore an area to see what has been left behind.
Antique Bottle Identification
As you start your antique bottle collection, you will have to decide which bottles you keep and which ones you give away or sell. Just like coin collecting, the age and specific markings on a bottle determine its value. You might find bottles that aren’t very rare (to an expert collector such as yourself) or duplicate bottles that you don’t need multiples of.
Use this guide to antique bottle identification so you can learn more about the items you find. You can also turn to online forums (like the Bottle Digging subreddit) where experts come together to offer advice on identification.
Bottle Shape
The first thing you will notice about the bottle you find is its shape. This can immediately give you clues as to what it held. Soda bottles often have distinct shapes with long necks and elegant curves. Milk bottles are larger and have wider mouths. You might also come across antique medicine bottles and apothecary jars, which were given to patients to treat everything from gout to bad breath.
There is a lot of nuance in antique bottle collecting. While a soda bottle might be easily recognizable at first, you might come across a variety of shapes that were unique to different brands at the time. These unusual shapes are often more valuable to collectors.
Embossed Text
The label on the bottle is one of the first things to wear away. Labels used to be made of paper (as opposed to the plastic wrappers found on many bottles today), which means they break down when they come into contact with water and corrosive materials like dirt. Fortunately, many bottle makers used embossed text within the glass, which means you can still glean information from your find.
The raised text can tell you the brand of the bottle, the year it was created, and even where it was made. When you find antique Coca-Cola bottles, flip them upside down to see the bottom. You might see the city or the country where it was issued.
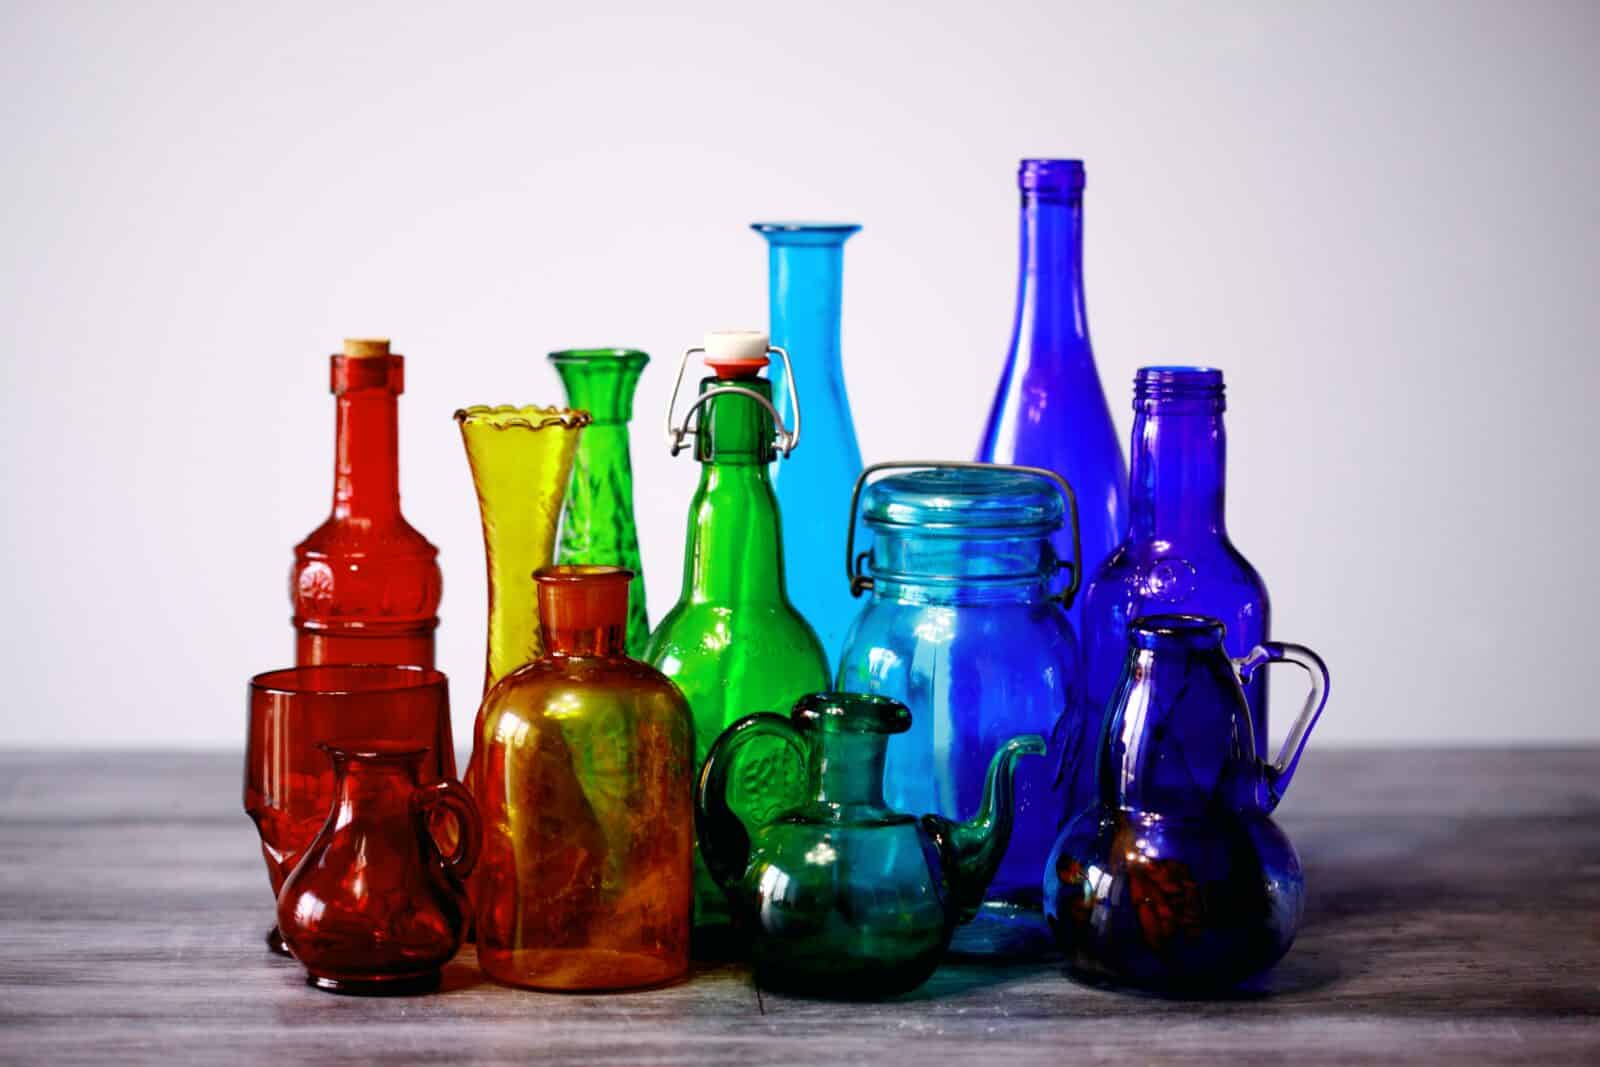
Color of Glass
The next step in your antique bottle identification process is to look at the color of the bottle and the clarity of the glass. This might require a little cleaning on your part to bring the bottle to its most presentable state.
First, older bottles aren’t as clear as newer ones. If you find a bottle made with crystal-clear glass, it likely isn’t that old. Next, look at the color of your opaque bottle. While the bottle’s color isn’t usually indicative of its age, you want to see if the color is unique to your collection or might appeal to others. A common color might also be uncommon for the bottle type.
For example, cobalt blue wasn’t commonly used for cylinder liquor bottles. If you find a cobalt bottle that wasn’t used for soda or poison, then it might be a unique find.
Molding Marks
Along with raised text, you can also look for other marks and indents that provide clues about the history of the bottle. These molding marks highlight how the bottle was made and the technology used at the time. Older bottles will likely have more molding marks because they were produced before manufacturing improved the process.
Glass Thickness
Older bottles are typically thicker. This is because most manufacturers didn’t have the technology that bottle makers have today (or developed throughout the 20th century) to make more bottles with less glass material. In particular, look at the base of the bottle. This is often where the thickest part is located.
The thickness can also tell you how the bottle was meant to be used. For example, a thick bottle was likely meant to be recycled or reused, such as a milk bottle. A thin bottle (for beer or soda) was more likely to be used once and then disposed of. You can glean a lot of information from your bottle just by looking at the thickness of the glass.
How To Safely Extract a Glass Bottle
Once you have found a glass bottle that you are interested in, the next step is to carefully remove it from its current location. This is often easier said than done: bottles are usually stuck deeply in the mud and can break if they are handled roughly. This is where your bottle-digging tools come in.
Make sure you have a clear idea of how the bottle is lying. You can use proper digging equipment like a pinpointer to get a clear idea of the bottle. Use a small trowel to remove dirt around the bottle without touching it directly. It’s better to remove the bottle when it’s caked with dirt (which can easily be washed off) instead of accidentally breaking it by touching it directly.
The final thing to consider during the extraction process is cleaning the bottle out. Mud, water, and air can create a pressurized seal over time in the bottle. If you break the seal too quickly, the bottle could break. Remember that you’re handling glass as you clean out your bottle and wash it out in a safe place. Once you find a bottle, carefully clean it and look for a place to display it in your home. Your friends will be amazed at what you have been able to find.


0 comments